A microwave-safe mixing bowl, for heating up the ingredients.
A spatula or whisk.
An 8×8 baking dish. You can use other sizes, but the bigger the dish, the flatter the bars will be, making them difficult to cut and keep their shape.
Parchment paper, for lining the baking dish and making it easy to remove the candy bars.
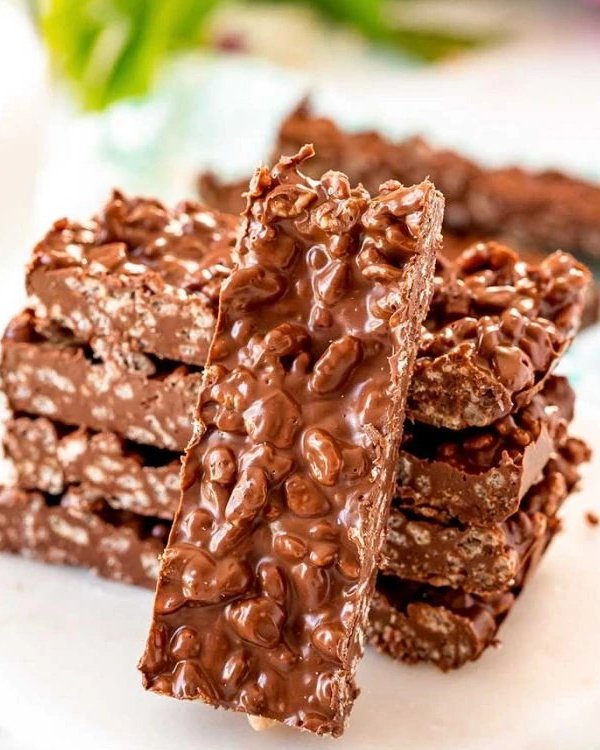
Close up side view of prepared and cut homemade crunch bars, showing off the chocolate and Rice Krispies inside.
CAN YOU USE OTHER TYPES OF CHOCOLATE?
This recipe calls for milk chocolate, as that is the same type of chocolate that Nestle Crunch Bars are made with.
However, you can also experiment with semi-sweet or dark chocolate, if you like those flavors more. You could even try white chocolate.
Close up view of a hand holding up a single narrow homemade crunch bar to the camera.
HOW LONG DO HOMEMADE CRUNCH BARS LAST?
There’s very little moisture in these bars, so they will last a while – however, it is best if they are stored in a sealed container in the refrigerator. This will keep the chocolate from becoming soft or oily at room temperature.
To store crunch bars:
Let the crunch bars cool to room temperature first. Chilling the bars while the chocolate is still hot will cause the chocolate to change to a darker color.
Store bars in an airtight container in the fridge. If stacking the bars in their container, separate each layer with wax or parchment paper.
Once stored, these bars should last up to two weeks.
CAN YOU FREEZE CRUNCH BARS?
Yes, you totally can freeze homemade Crunch bars! Here’s how to do it:
Continued on next page (page 3)

